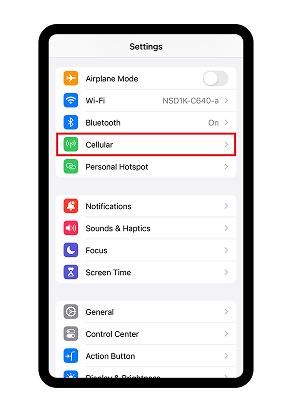

Check your
smartphone

Apply through
the website

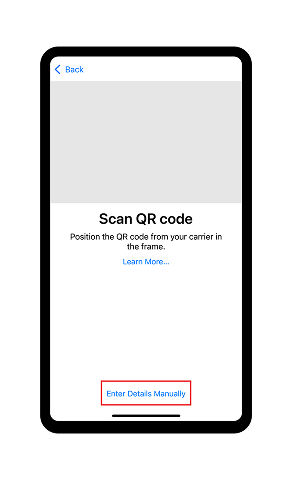
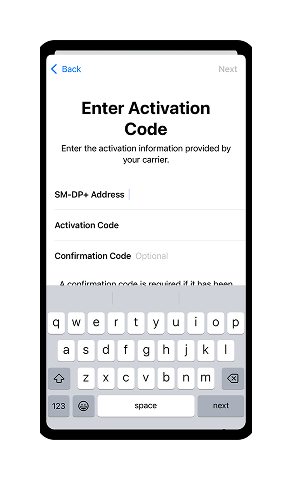
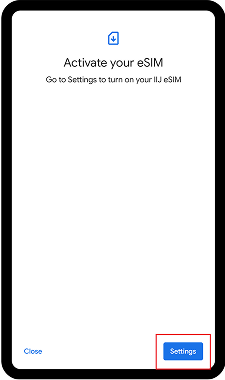
Activation
QR code

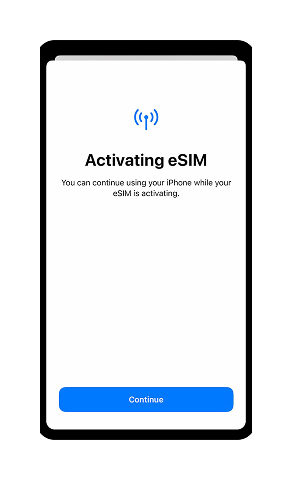
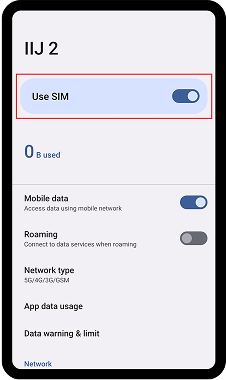
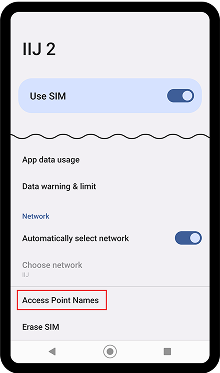
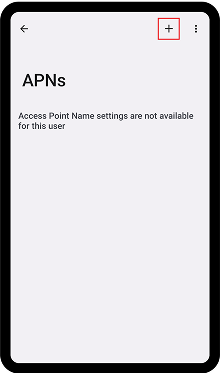
Set up

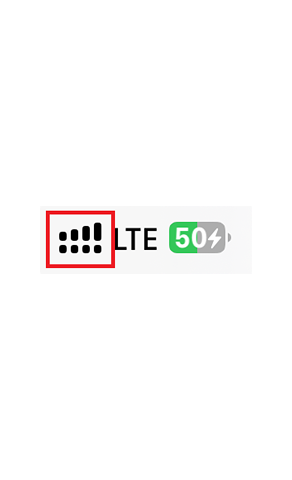
Start using
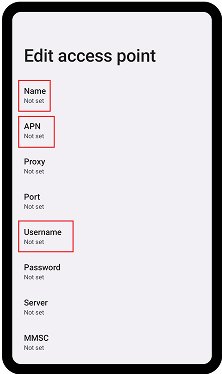
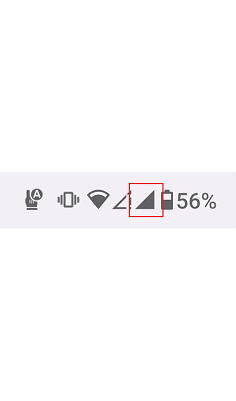
You can easily check if your smartphone is compatible with eSIM.
Click here for instructions on how to check*If you cannot confirm, kindly verify with your smartphone manufacturer.